Country-style Bottle Costumes - Tie Step By Step Instruction
Here we will cover the process of making a decorative tie. The
collar and hat are paper; both take around 3 minutes to assemble.
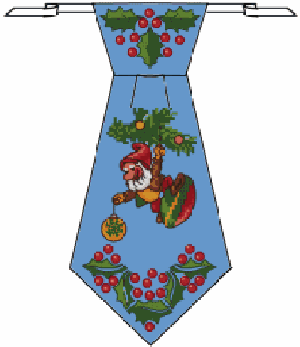
Here is how a decorated bottle looks at the end:

Instruction for making the tie
1. Pick up a piece of mono-color, non-stretchy fabric. We've used black cotton for this project.
2. Download the free leaves patterns, and gets the dwarf design from
"Tiny Christmas Trifles" set.

Be sure to stabilize properly. For machine cross-stitch designs, we usually prefer cut-away backing.
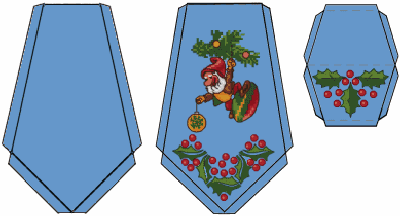
4. Cut out tie front, back and bow according to the above drawing.
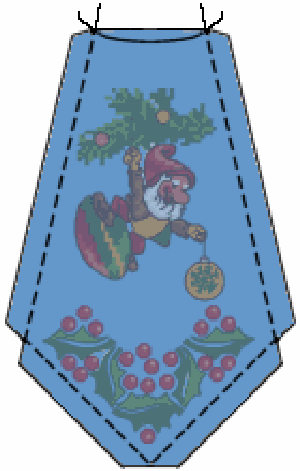
5. Sew tie front & back sides together. The front should be a little wider than the back,
to create decorative folds later. Like shown here:

6. Sew on the tie "bow", like shown on the diagram below - in three steps. First - sew the
backside of the bow to tie back. Then, iron the edge of bow inside (image #2 - where the arrow shows).
Fold the bow so that you see only it's reverse side, and sew the edges, BUT not completely (look at the picture).
Turn the bow to its right side via the bottom opening, and insert a ribbon via the tiny openings on bow edges.
Like shown here:

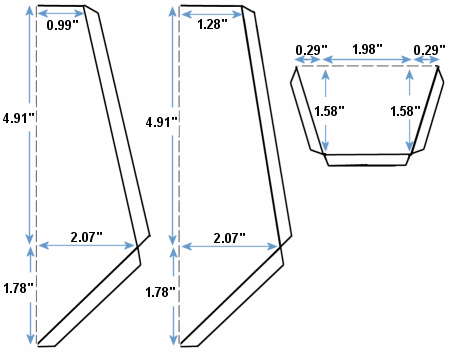
And here is a diagram of the tie, showing the sizes. These sizes are perfect for the 16-count version,
so if you choose to use 14 or 18 count, make an adjustment in pattern size. Also, be sure to leave 1/3 inch
seam allowance.

Next
|
